
How to Perform a Cat Food Allergy Test at Home: A Step‑by‑Step Guide
Most cat owners think a quick diet change will fix upset tummies, but that rarely works.
What you’re really seeing is a hidden food intolerance. It can show up as loose stools, gas, or itchy skin. Those signs tell you the gut is fighting something it can’t digest.
A cat food allergy test at home lets you pinpoint the culprit without weeks of trial‑and‑error. You collect a small fur or saliva sample, ship it to an accredited lab, and get a clear report online. The whole process takes a few days and costs less than a vet’s extensive work‑up.
Here’s a quick three‑step plan: 1️⃣ Spot the symptoms and note when they flare. 2️⃣ Order an at‑home test kit. 3️⃣ Follow the lab’s ingredient guide to swap out problem foods and watch the improvement.
If you’re hunting for a gut‑calming food, see our Best Cat Food for Sensitive Stomach UK guide for safe options.
Start with the test, then adjust the diet. Within a week most owners notice calmer tummies and softer coats. You’ll finally know what’s making your cat uncomfortable and can act with confidence.
Step 1: Observe and Record Symptoms
First thing you need to do is watch your cat like a detective. Notice when the litter box looks different – more than a few loose stools or a sudden smell. Jot down the day, time, and what you fed them. A quick note in your phone works just fine.
Next, pay attention to the skin. Scratchy spots, hair loss, or a greasy coat often show up after a meal. Write down the exact spot and whether it flares after a particular brand of food.
Don’t forget the bathroom trips. Count how many times your cat uses the box each day. If the number spikes after a new treat, that’s a clue. A simple table with columns for date, food fed, symptom, and severity makes patterns pop out.
It’s easy to miss subtle changes, so set a reminder on your calendar. Five minutes each evening is enough to update the log. Over a week you’ll have a clear picture of what triggers the upset.
Here’s a quick checklist:
- Record every meal and treat.
- Note stool consistency and frequency.
- Mark any itching, redness, or coat changes.
- Track when symptoms appear – within hours or the next day.
Seeing the data side by side often reveals the hidden intolerance before you even open a test kit.
Watch this short video for a visual guide on setting up your symptom log:
Once you have a week’s worth of notes, you’re ready for the next step: ordering a cat food allergy test at home and sending in a sample.
Step 2: Eliminate Common Triggers
Most flare‑ups come from just a few ingredients that your cat can’t tolerate. If you strip those out, the skin and tummy calm down quickly.
First, list the usual suspects: chicken, beef, fish, dairy, and any treats that contain fillers. Write each one on a separate line in your diary.
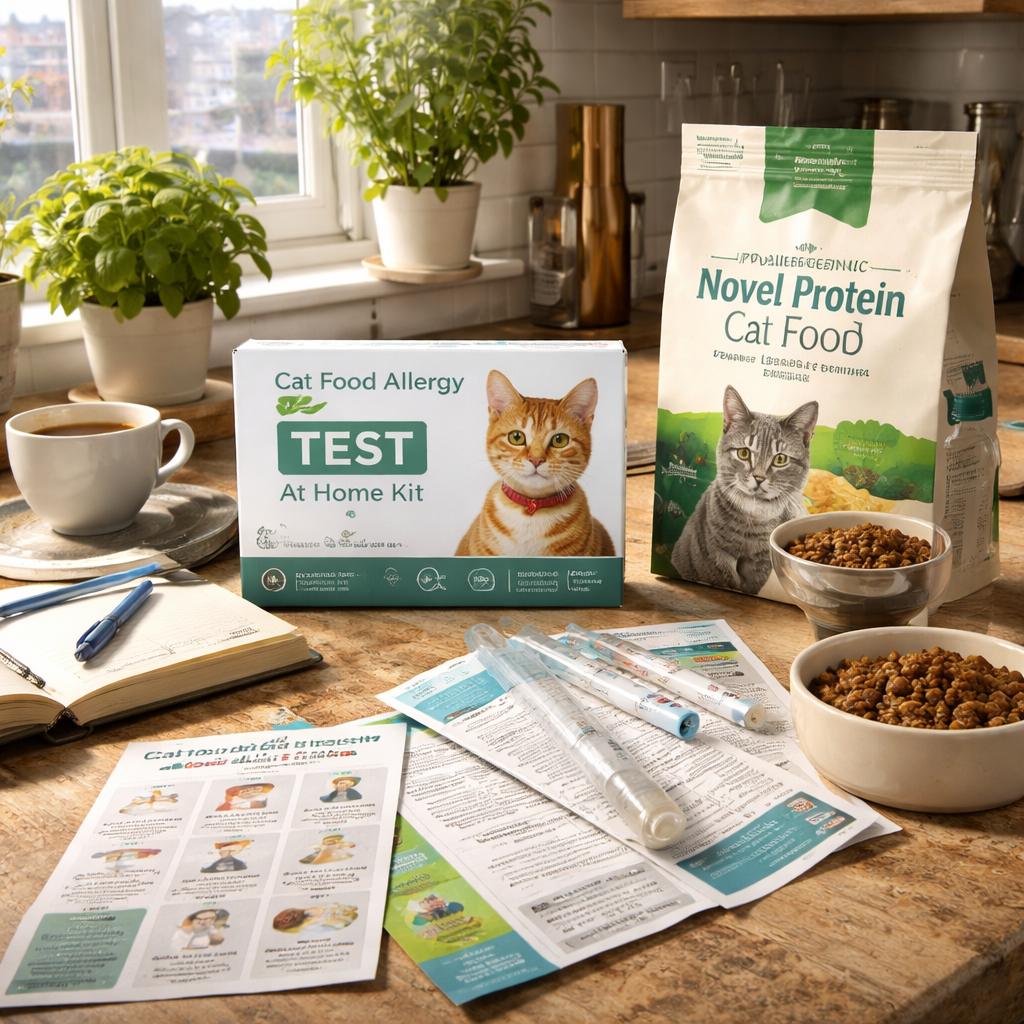
Next, swap every listed item for a novel protein or limited‑ingredient diet. FirstVet recommends a strict 6‑8 week trial with only the new food and plain water (source). During this time, no extra treats, no table scraps, no flavored meds.
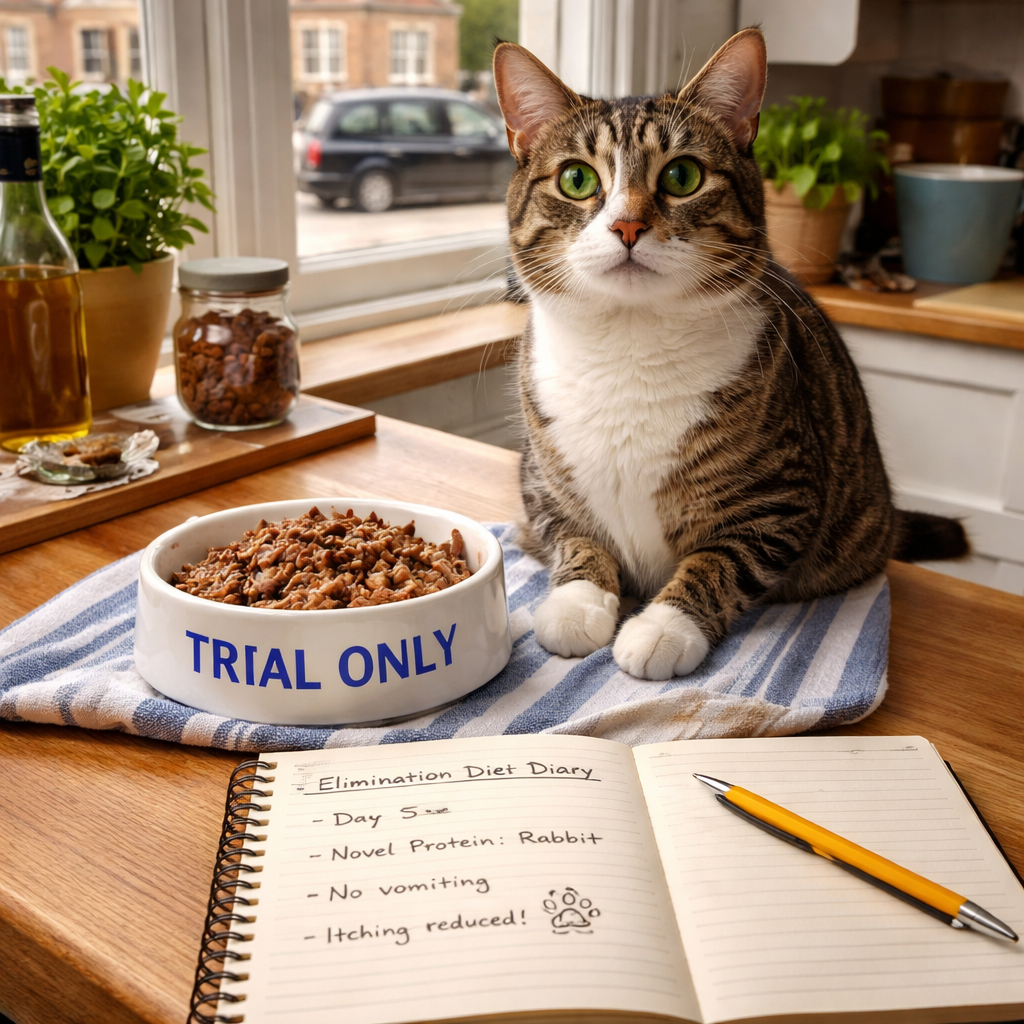
Tip: keep a second bowl labelled “trial only” and store the regular food out of sight. This stops accidental nibbling.
Watch for hidden sources. Some dental treats hide chicken broth, and some wet foods add milk powder. Check the ingredient list for each product before you add it to the bowl.
If you have more than one cat, feed the trial cat in a separate room or use a timed feeder. This prevents the others from stealing a bite.
When the 6‑8 weeks are up, re‑introduce the old foods one at a time. Offer a tiny spoonful of the previous protein and note any itch or stool change for the next two days.
If a reaction shows up, mark that ingredient as a trigger and avoid it forever. If nothing returns, you’ve likely found a safe baseline.
Finally, jot down the safe foods and share the list with your vet. They can help you choose a complete, balanced diet that fits your cat’s needs.
Step 3: Conduct an At‑Home Elimination Trial
Now that you’ve swapped to a novel protein, it’s time to start the actual trial.
Pick a quiet spot, fill a clean bowl with the new food and plain water, and label it “trial only”. Keep the old kibble locked away – even a tiny bite can spoil the test.
Stick to the plan for 6-8 weeks. No treats, no table scraps, no flavored meds. If you spot a stray treat, toss it. Consistency is the magic that lets you see a real change.
Every day, jot down what your cat ate, any poop changes, and any scratchy spots. A quick tick‑box notebook works fine – you don’t need fancy apps.
What if you have more than one cat? Feed the trial cat in a separate room or use a timed feeder. This stops the others from stealing a bite and confusing the results.
Watch for hidden ingredients. Some dental treats hide chicken broth; some wet foods add milk powder. Double‑check every label before you add anything to the bowl.
At the end of the trial, re‑introduce the old foods one at a time. Offer a tiny spoonful, wait two days, and note any itch or stool shift. This tells you which ingredient was the trigger.
If nothing flares up, you’ve found a safe baseline. Write down the approved foods and share the list with your vet – they can help you pick a balanced diet that meets your cat’s needs.
Remember, the trial isn’t a cure‑all. If symptoms persist, a vet check‑up is still the right next step.
| Phase | Action | Tip |
|---|---|---|
| Start (Week 1-2) | Feed only new food + water | Use a separate bowl |
| Mid (Week 3-5) | Keep diary of stools and skin | Note any tiny changes |
| Finish (Week 6-8) | Re‑introduce old foods one by one | Wait 48 hrs between each |
Step 4: Re‑introduce Foods Systematically
Now the tricky part begins: bringing the old foods back one by one.
Pick the first protein you dropped – chicken, beef, fish, whatever it was. Scoop a pea‑sized bite into a clean spoon and place it in the bowl.
Wait 48 hours. During that time, watch the litter box, the coat, the scratching spots. Any change? If the stool looks softer or the skin gets itchy, you’ve found a trigger.
If nothing shifts, write down “safe” and move to the next item. Keep the same 48‑hour gap before you test the next food. This gap stops overlap and gives the gut time to settle.
Tip: use a simple chart. Column one – food name. Column two – date offered. Column three – reaction notes. A quick glance will show the pattern without you having to dig through a notebook.
What if more than one ingredient causes a flare? That can happen. In that case, repeat the test with each suspect on its own, wiping the bowl clean each time. The goal is a clean record, not a rushed guess.
When the list of safe foods is complete, share it with your vet. They can help you build a balanced menu that meets the cat’s protein, vitamin and mineral needs. A balanced plan keeps the tummy calm and the coat glossy.
And remember, this re‑introduction stage is not a cure‑all. If symptoms linger despite a clean list, a vet visit is still the right move.
Step 5: Interpret Results and Next Steps
You’ve got the report – now it’s time to make sense of it.
Open the online result page and find the table of ingredients. Each entry has a number next to it. The higher the number, the stronger your cat’s immune response.
Take a moment to compare that list with the foods you fed during the elimination trial. If chicken showed a high score and you fed chicken for the first two weeks, that’s a strong clue.
Sometimes the test flags an ingredient you never offered, like a hidden dairy protein in a treat. Note those for future shopping – they can sneak into kibble or wet food labels.
Action step 1: write down every positive ingredient, its score, and whether it was in the trial diet. A simple two‑column table works fine.
Action step 2: remove any confirmed trigger from the bowl. Stick to a novel protein for at least two weeks and watch the stool and skin. Record any improvement in the same log.
Action step 3: book a follow‑up with your vet. Show them the score sheet; they can confirm the allergy and suggest a balanced replacement diet that meets your cat’s nutritional needs.
Need help reading the numbers? The Becker ENT guide breaks down IgE values and what they mean for pets. For a quick vet‑approved overview of what a pet allergy test looks like, see the Animal Trust explanation.
Tip: keep the log on your fridge. A glance at the sheet will remind you which ingredients are safe and which to avoid, making the next vet visit smoother.
Conclusion
You’ve walked through spotting symptoms, swapping foods, running a trial, and reading the test report. The biggest win? Knowing exactly which ingredients spark your cat’s tummy or skin woes.
With a cat food allergy test at home you get clear numbers without weeks of guesswork. Use the score sheet, ditch the triggers, and stick to a novel protein for a couple of weeks. Watch the litter box and coat – the changes will speak for themselves.
Next step? Grab a simple log, note any improvements, and book a vet follow‑up to fine‑tune a balanced diet. If you need a hassle‑free way to start, UK Pet Food Intolerance offers an at‑home kit that sends results straight to your inbox.
Take action today, and give your cat the calm tummy and glossy coat it deserves.
Remember, the test isn’t a cure‑all, but it gives you a solid starting point for a happier, healthier cat.
Frequently Asked Questions
What is a cat food allergy test at home and how does it work?
A cat food allergy test at home lets you collect a tiny fur or saliva sample from your cat, then mail it to an accredited lab. The lab analyses IgE antibodies that signal a reaction to specific ingredients. Within a few days you get an online report that scores each protein, grain or additive. The whole process takes only a couple of weeks from start to result.
How long does it take to get results?
Most kits promise results within 5‑10 business days after the lab receives your sample. Shipping adds a day or two, so you can usually expect the full report in about two weeks. Some providers offer faster turnaround for an extra fee, but the standard speed is enough to let you plan the next diet trial without long delays.
Do I need a vet to collect the sample?
You don’t need a vet to take the sample, but a vet can show you the safest way to collect it, especially if your cat is nervous. The kit usually includes a gentle swab or a small brush that you roll along the cat’s cheek or whisker area. Just follow the printed instructions and avoid any stress that could affect the sample quality.
Can the test tell me if my cat has a true allergy or just a food sensitivity?
The test measures IgE antibodies, which are linked to true allergies, but it can also flag mild sensitivities that don’t cause a full‑blown reaction. If the score for an ingredient is low, you might still see occasional tummy upset, so a short elimination trial can confirm whether it truly bothers your cat. Talk to your vet to interpret borderline results.
What should I do after I receive the test report?
When the report arrives, compare the high‑scoring ingredients with what you’ve been feeding. Remove any flagged foods for at least two weeks and watch the litter box and coat. Keep a simple diary of stools and itching, then re‑introduce the removed items one at a time to see if symptoms return. This systematic approach lets you build a safe, long‑term diet plan.
Is the test safe for all breeds and ages?
The test is safe for cats of any age, from kittens to seniors, as long as the sample is taken gently. Very young kittens may need extra handling help, and older cats with health issues should have a vet check before starting. No chemicals are added to the sample, so there’s no risk of harming your pet.