
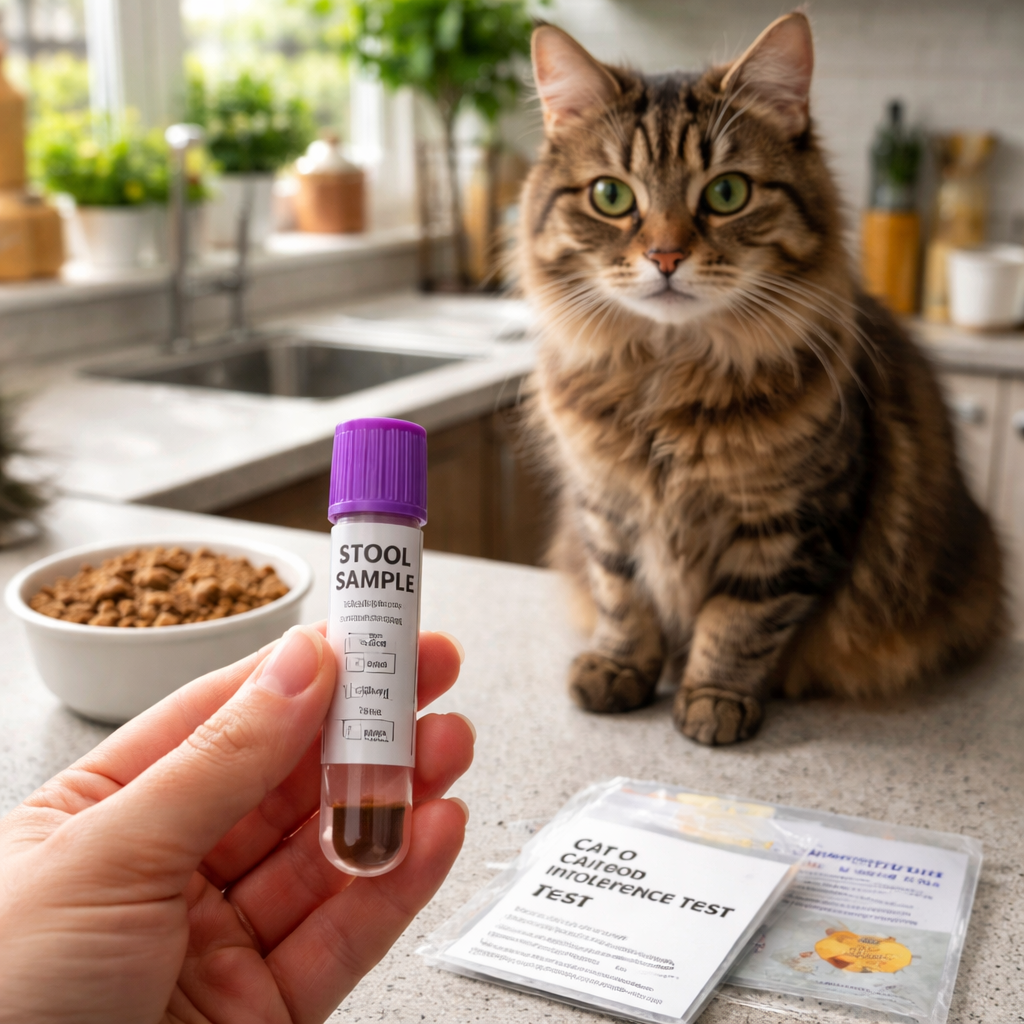
Understanding cat food intolerance test results: A practical guide for UK cat owners
You can finally stop guessing why your cat’s tummy is upset.
Most owners try new foods, watch for changes, and still end up with loose stools or endless scratching. The missing piece is clear data, and the cat food intolerance test results.
When the lab finishes the analysis, you get a simple report. It lists the ingredients that sparked a reaction and grades them as low, medium or high risk. No jargon, just colour‑coded boxes and short notes that tell you what to avoid.
With that list in hand, you can build an elimination diet that targets the flagged foods. Cut them out for a few weeks, then re‑introduce one by one. The difference shows up fast, and fewer trips to the vet, calmer evenings, and a happier feline.
If you’ve watched your cat gag after a wet meal or seen patches of dry skin after a dry kibble, you know how frustrating the cycle can be. It feels like you’re chasing a moving target, and every new brand feels like a gamble.
That’s why many UK pet owners choose an at‑home test from UK Pet Food Intolerance. The kit arrives in the post, you collect a tiny stool sample, and the accredited lab does the heavy lifting.
In the next part of this guide we’ll walk through how to read the numbers, what each risk level means, and the next steps to tweak your cat’s diet without a lot of guesswork.
Step 1: Collect a sample of your cat’s stool
First thing you need is a tiny bit of stool. It sounds odd, but the lab only needs a pea‑size amount to spot any food reactions.
Grab a clean disposable glove or a piece of fresh parchment paper. Gently lift the fresh drop from the back of the litter tray, you’ll see it as a moist, brown clump. If the stool looks dry, wait a few minutes after your cat uses the box; fresh is best.
Tip: Keep the sample in a small sealable bag or the tube that comes in the kit. Label it with the date so you don’t mix it up later.
When you’ve sealed the sample, store it in the fridge for up to 24 hours. The cold slows any bacteria that might change the result.
Now you’re ready to send it off. The UK Pet Food Intolerance kit includes a pre‑paid envelope, just drop it in the post.
Make sure the sample isn’t contaminated by cat litter. Use a clean spoon or the little spatula that comes with the kit. Avoid touching the stool with bare hands, gloves keep you safe and keep the sample pure.
If you miss the fresh window, you can still collect a sample but the lab may note a slight delay. It’s better to wait for the next bathroom break than to guess.
When you drop the envelope in the post, keep the receipt. Most services track the parcel so you know when it’s on its way.
While you wait for the results, keep a simple food diary. Note what your cat eats each day and any signs like itching or loose stools. This will make the colour‑coded report easier to act on.
If you’re wondering how this kind of home test stacks up against other health checks, you might find this practical comparison guide useful.
practical comparison guide shows how different tests can be weighed for cost, comfort and accuracy.
Once the lab finishes, you’ll get clear cat food intolerance test results. The report will colour‑code each ingredient and tell you whether it’s low, medium or high risk.
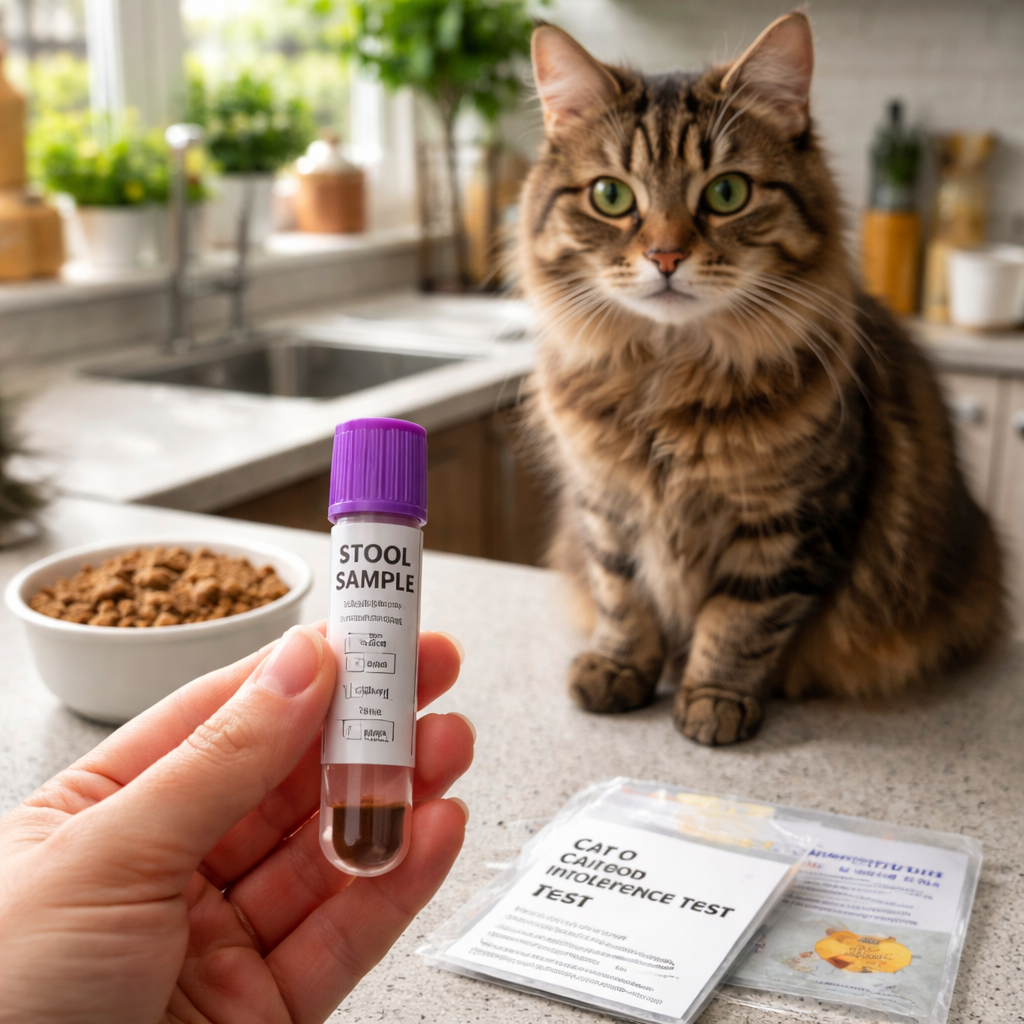
Step 2: Choose a reliable at‑home test kit
Now that you’ve got a fresh sample, the next move is picking the kit that will actually give you trustworthy cat food intolerance test results. Not every kit is created equal, and the difference shows up in the lab’s report quality and how easy the process feels for you.
First, look for a kit that says the sample will be analysed by an accredited lab. That badge means the lab follows strict quality standards, so the numbers you get back aren’t just guesswork. A common sign is a reference to ISO‑17025 or a UKAS‑accredited facility.
Second, check what the kit includes. You’ll want a pre‑labelled tube, a clear instruction sheet, and a prepaid box for mailing. Some kits also throw in a short video guide – that can be a lifesaver if you’re nervous about handling stool.
Third, compare the list of ingredients the lab tests for. A good kit covers the usual suspects – chicken, fish, dairy, wheat, and novel proteins – plus a few less‑common items like legumes or additives. If the list feels short, you might miss a hidden trigger.
Here’s a quick three‑step checklist you can print and stick on the fridge:
- Accredited lab badge visible on the product page.
- All‑in‑one packaging (tube, label, prepaid box).
- At least 20‑30 common food items tested.
For UK pet owners, the Home Test for Cat Food Intolerance UK: A Step‑by‑Step Guide walks through exactly what to expect when you order, how the kit arrives, and what to do once you’ve packed it up.
Tip from a lab tech: store the tube upright in the fridge until you ship it. That keeps the sample from drying out and gives the lab the best chance to spot subtle sensitivities.
If you’re still unsure, imagine a scenario where you pick a cheap kit that only tests five ingredients. You might get a clean report, but the real culprit stays hidden – you’ll end up back at square one, chasing symptoms.
On the flip side, a well‑rounded kit may cost a bit more, but it saves you time, vet visits, and the stress of guessing. Think of it as an investment in peace of mind.
Need help deciding which kit fits your budget? Tools like Velio can show you data trends on popular pet‑care products, letting you see what other UK owners are choosing.
And if you ever switch hobbies, you might enjoy reading about buying a pontoon boat – Blackbeard Marine has a tidy guide that’s easy to skim.
Step 3: Send the sample and interpret the results
Seal the tube, pop it in the prepaid box, and drop it in the post. The lab asks for a quick turnaround, so ship it the same day if you can.
Make sure the box stays upright in the mailbox, the tube will stay upright inside and won’t leak. If you use a drop‑off point, hand the parcel to the clerk and ask them to keep it upright.
The lab extracts DNA and runs a panel of about thirty common ingredients. Most owners hear back in 7‑10 days with a colour‑coded PDF you can open on any device.
What the report looks like
The page is split into three columns: ingredient, risk level, and a short note. Green means low risk, amber medium, red high. A quick glance tells you which foods to avoid.
For a deeper dive, the guide on interpreting test results explains how the lab scores each ingredient and why they use those thresholds.
Reading the risk levels
Red indicates a strong antibody response, that ingredient is likely behind the tummy upset or itchy skin. Amber suggests a moderate response; you may want to try an elimination trial. Green means the ingredient is probably safe, but keep an eye on any new reactions.
Practical tips
Write the red and amber foods on a sticky note and stick it on the fridge. When you shop, scan the label and cross‑check, it saves you from buying the wrong kibble.
Start an elimination diet with one red ingredient at a time. Keep a simple diary: day, food, any change in stool or skin. After two weeks you’ll see if the symptom eases.
Beware of cross‑reactivity, proteins that look alike can trigger a similar response. The report flags potential cross‑reactivity, so treat those amber items with extra caution.
Next steps
Once you’ve removed the red foods and tested the ambers, you’ll have a clearer picture of what your cat can tolerate. Build a balanced, low‑risk diet that keeps the tummy calm and the coat shiny.
If you hit a roadblock, a quick call to your vet with the report in hand can help decide whether a follow‑up test or a specialist referral is needed.
Step 4: Adjust your cat’s diet safely
Now that you know which ingredients light up red or amber, it’s time to build a new bowl that keeps the tummy calm and the coat shiny.
Pick a safe baseline
Choose a limited-ingredient wet or dry food that contains none of the red items. Look for a label that lists only one protein source and a short grain list. If the list still showed a red ingredient, swap it for a plain turkey or rabbit recipe that the test marked green.
Give the same amount each day so you can spot changes. Too much or too little can mask a reaction, so use the feeding guide on the bag.
Swap out the red foods
Remove every red ingredient from every meal. That means no treats, no supplements, no occasional table scraps that hide chicken or dairy. Keep the diet simple, one brand, one flavour, no extra bits.
Trial amber foods one at a time
After two weeks on the baseline, pick one amber ingredient to test. Add a tiny amount, a spoonful of a new kibble or a few bits of a novel protein, for three to five days. If your cat’s stool stays firm and the skin looks calm, keep that food for a week before moving to the next amber.
Treats, dental chews, and even wet food gravy can hide a red protein. Read the full ingredient list before you add anything new.
Track what you see
Write down the date, the food you added, and any change in poop, gas, or itchiness. A one-line diary works fine, “Day 8: added salmon, no change”. After each trial, look for a pattern. If a symptom spikes, pull that food out and stay with the baseline.
It can take a week or more for a gut to settle after a change. If you see a flare up, go back to the baseline and wait a few days before trying the next test food.
| Phase | Action | Tip |
|---|---|---|
| Baseline | Feed only green-rated food | Use the same brand for two weeks |
| Amber test | Add one amber ingredient at a time | Wait 3‑5 days, then observe |
| Review | Check diary for symptoms | Remove any food that triggers a reaction |
When to call the vet
If after a full cycle you still see loose stools or itchy patches, it’s time to show the cat food intolerance test results to your vet. They can suggest a specialist diet or run further blood work.
Stick to the plan, keep the diary honest, and you’ll soon see a calmer cat and a cleaner litter box.
Step 5: Monitor improvements and know when to seek veterinary advice
Now the test results are in, it’s time to watch how your cat reacts. The goal is simple – see if the gut calms down and the skin stops itching.
Watch the diary for trends
Keep the one‑line diary you started earlier. Write the date, the food you gave, and any change in stool or skin. A line like “Day 12: new salmon treat, no change” is perfect.
After a few days, look for a pattern. If the stool stays firm for three days straight, you’re probably on the right track. If you spot a spike – loose poo or a new rash – note it and pull that food back.
Know what a true food intolerance looks like
Food intolerance can show up on the first bite, unlike an immune‑driven allergy that may need several exposures. That difference matters when you decide if a reaction is real or just a coincidence. VCA Hospitals explains that intolerance often causes digestive upset, while allergies tend to cause recurring skin signs.
Use that knowledge to decide if you need a vet. If the diary shows only mild, occasional changes, you can keep tweaking at home.
When to pick up the phone
Call the vet if any of these happen:
- Loose stools that last more than a week.
- Itchy patches that don’t improve after two weeks on the new diet.
- Vomiting, weight loss, or severe lethargy.
Bring the cat food intolerance test results and your diary to the appointment. The vet can rule out an allergy, run blood work, or suggest a specialised diet.
Set a realistic timeline
Give each change at least five days. The gut needs time to settle, especially after a protein switch. If you rush, you’ll miss the real signal.
And remember – you don’t have to do it all alone. Many UK pet owners find it helpful to share their diary with a trusted friend or a local cat‑care forum for extra eyes.
When you see steady stools and a calm coat, you’ll know the plan works. If not, the vet’s advice will point you to the next step.

Conclusion
You’ve seen how a clear cat food intolerance test results report can cut through the guesswork. By swapping out red‑flagged ingredients and watching a simple diary, most owners spot calmer tummies and softer coats within weeks.
So, what’s the next step? Grab your test kit, send the sample, and let the lab do the heavy lifting. Then use the colour‑coded guide to build a baseline diet that only contains green‑rated foods.
If a symptom pops up again, the diary will point you straight to the culprit – no more endless trial and error. And remember, a quick call to the vet is never a bad idea if things don’t improve.
Ready to take the uncertainty out of feeding time? A reliable at‑home test from UK Pet Food Intolerance makes it easy to start the process today.
Keep the diary short – a line like “Day 10: new kibble, no change” is enough. Over time you’ll see a clear pattern without getting lost in details.
Frequently Asked Questions
What do cat food intolerance test results actually show?
The report lists each ingredient the lab tested and gives it a risk colour – green, amber or red. Green means the cat is unlikely to react, amber signals a possible mild reaction, and red points to a strong immune response that could be causing tummy upset or itchy skin. You’ll also see a short note on why the lab flagged the item.
How quickly should I act on red‑flagged ingredients?
When you see a red label, start removing that ingredient from every meal right away. Swap the kibble or wet food for a brand that doesn’t list the protein or additive. Keep the diet simple for at least two weeks so you can see if the symptoms settle. If they do, you’ve likely found the main trigger. You can also note the change in your diary to confirm the improvement.
What does an amber rating mean for my cat’s diet?
Amber tells you the cat may have a mild sensitivity. It’s worth testing the ingredient one at a time. Add a tiny spoonful of the food for three to five days while you keep the rest of the diet unchanged. Watch the stool and skin; if you notice any flare‑up, pull that food back and keep it off the regular menu.
Can I trust the colour‑coded guide from the test?
The colour‑coded guide is based on lab analysis that follows ISO‑17025 standards, so it’s as reliable as most accredited tests. It gives you a clear visual cue, which helps you spot problem foods fast. Just remember it’s a guide – you may still need a vet’s opinion if symptoms linger after you’ve removed the red and amber items for your cat today.
Do I need to repeat the test after changing the diet?
You don’t have to retest unless new symptoms appear or you add a fresh protein source. Most owners find that a single set of results is enough to guide the first elimination plan. If you later introduce a novel ingredient and see a reaction, you can send another sample to confirm whether that new food is also a trigger.
What should I do if symptoms persist despite following the test advice?
If the diary still shows loose stools or itchy patches after you’ve removed all red foods and tried the amber ones, call your vet. Bring the test report and your notes so the vet can decide whether further blood work or a specialised diet is needed. Sometimes an underlying health issue unrelated to food can be the cause for your cat.


Leave a Reply
Want to join the discussion?Feel free to contribute!